We all hate when we see that ugly black mildew, or worry about leaks from that failing caulk line in the shower spreading to the inside of the house and causing thousands of dollars in damage, but how do we fix it? How do we know it’s done right? In this post, I’m going to take you through a failsafe process to make sure you never have to replace the caulk in your tub or shower again!
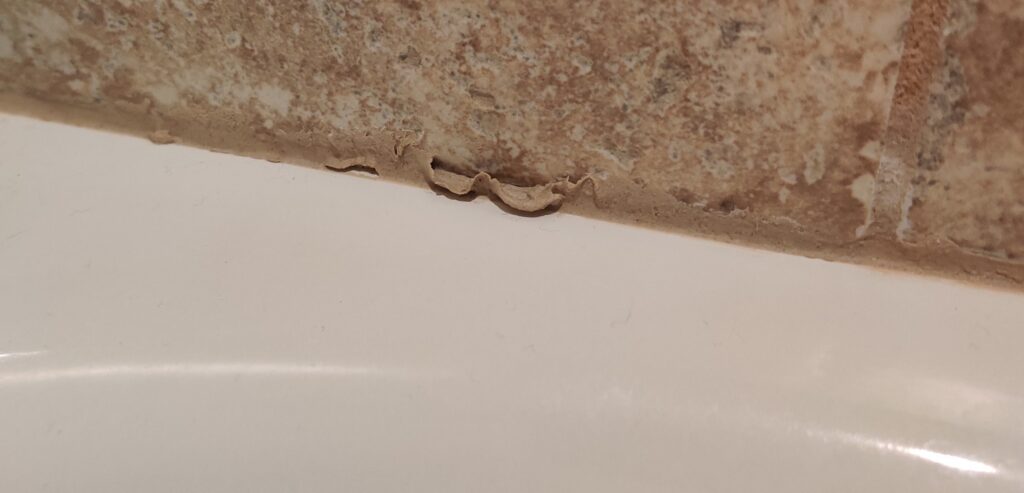
Level of Difficulty: Easy process, hard work. Plan for the tub or shower to be out of commission for about a week.
Tools
– Fein Multimaster Oscillating Tool
– Corded (my preference)
– Cordless
– Oscillating Tool Blades
– Scraper Blade
– Grout Blade
– Exacto Knife (highly recommend this brand!)
– Nylon Brush (Drill attachment set – awesome!)
– Flathead Screwdriver (This particular screwdriver is great for many uses, and the perfect size for other projects – like replacing outlets, switches, etc. – worth picking up)
– Caulk Gun (Your caulk gun MATTERS! Needs to have consistent speed, good trigger, etc. – This is the difference between a nicely finished look, and a gobbed up, ugly look.)
Materials
– Grout Cleaner (I have always found this brand to work the best.)
– Tile and Grout Sealer (Without a doubt my favorite sealer. NOTE: You should seal before caulking as the solvent will weaken the silicone. If sealing after caulking, use the water based version of this sealer.)
– 100% Silicone Caulk (DO NOT use “siliconized” or sanded caulk – this is a substandard product and is why your current seal is failing. Only 100% silicone will do. Yo will have to track this down at a home improvement store. I could not find a good Amazon link for this, but I did link to the manufacturer’s website to allow you track down the right color. Also, I recommend buying 2 tubes, and getting used to flow and smoothing with a test surface; something like a makeshift corner made from a couple spare 2×4’s.)
– Frog Tape (Frog Tape will give you the best and cleanest lines for this project; hands down.)
– 70% Isopropyl Alcohol
– Mineral Spirits
– Rags
– Paper Towels
Order of Operations
- Remove bulk of caulk using oscillating tool with Scraper Blade.
- Properly widen and mechanically clean all joints using oscillating tool with Grout Blade.
- Use the Grout Blade to rough up front edge of lip on all joints for better caulk adhesion.
- Use vacuum to clean up dust and clear debris from joints.
- Perform first chemical clean with grout cleaner and nylon brush, focus most work on the joints.
- Use Exacto Knife to target spots where old caulk is still hanging on. Be meticulous here.
- Rinse shower with water thoroughly.
- Perform second chemical clean with grout cleaner and nylon brush. Clean entire surface area of tile this time.
- Thoroughly rinse all tile with water, while scrubbing with nylon brush.
- Let dry overnight
- Seal all tile and grout
- Let dry 24 hours.
- Perform double wipe technique with isopropyl alcohol until joints are perfectly clean
- Tape joints
- Apply caulk; tool with finger.
- Let dry 48 hours
Step-by-Step Directions
Caulk Removal
In the first portion of the project, we have to completely get rid of the old failing caulk.
Oscillating Tool
Start with the Fein Multimaster Oscillating Tool to do the bulk of the work. If you don’t own an Oscillating Tool, get one. It is literally one of the most versatile power tools a homeowner can possess, and I would put it’s level of importance right up there with a good power drill.
Scraper Blade
Start by removing the bulk of the old caulk using the Scraper Blade. On your first pass, don’t worry too much about precision, but rather just getting the majority of the old stuff out of the joints. On the second pass, use the Scraper Blade up against the interior walls of the joint to try and get down to the tile as much as possible. It won’t be perfect, but use the tool to your benefit here, and the manual method with the Exacto Knife is obviously the most time consuming, and should be saved only for areas that are really hard to get to, or uneven surfaces that need a more precise touch.

Grout Blade
Note that this step is only for tile-to-tile joints. Do not perform this step on a tub-to-tile joint, as the Grout Blade will tear up the tub, and be quite unsightly. Instead, use the Exacto Knife to carefully remove the caulk from the tub side.
Next, use the Grout Blade to properly widen and mechanically clean all joints. Sometimes when the tile is laid, the installers don’t pay great attention to spacing at the joints, and this is your chance to remedy that. A good diamond-tipped blade, although a little more expensive, will allow you to ream those areas out and create the right spacing.
Also, (this is important!) use the Grout Blade to rough up the front edge of the lip on all joints for better caulk adhesion.
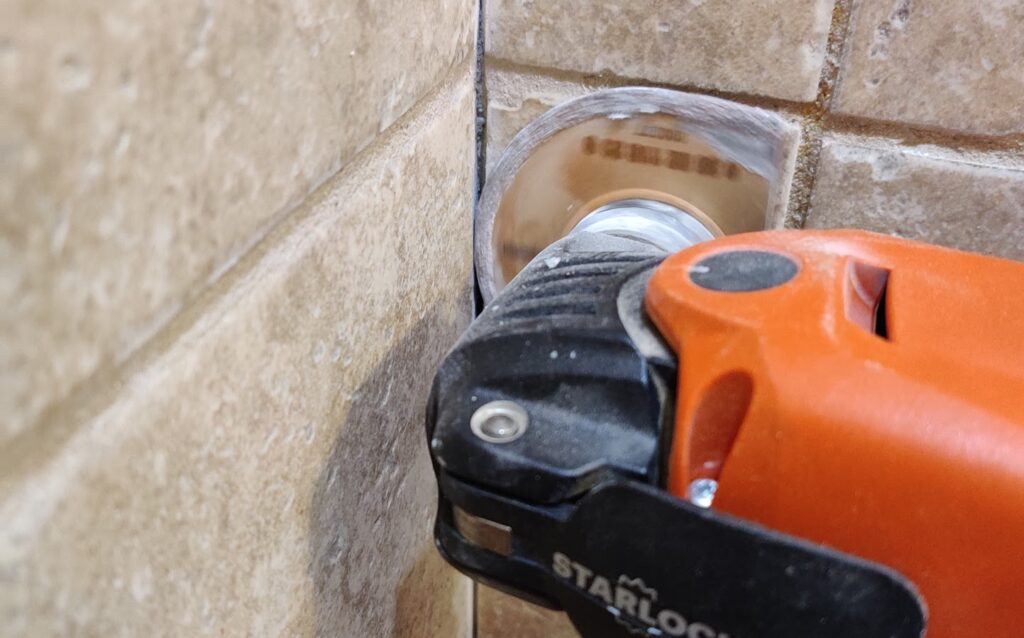
This will be dusty! Not a bad idea to wear a protective mask while doing the grinding. Use vacuum to clean up dust and clear debris from joints after you’re finished before moving on to the next phase of the project. After vacuuming, you will probably also notice some areas you need to hit again.
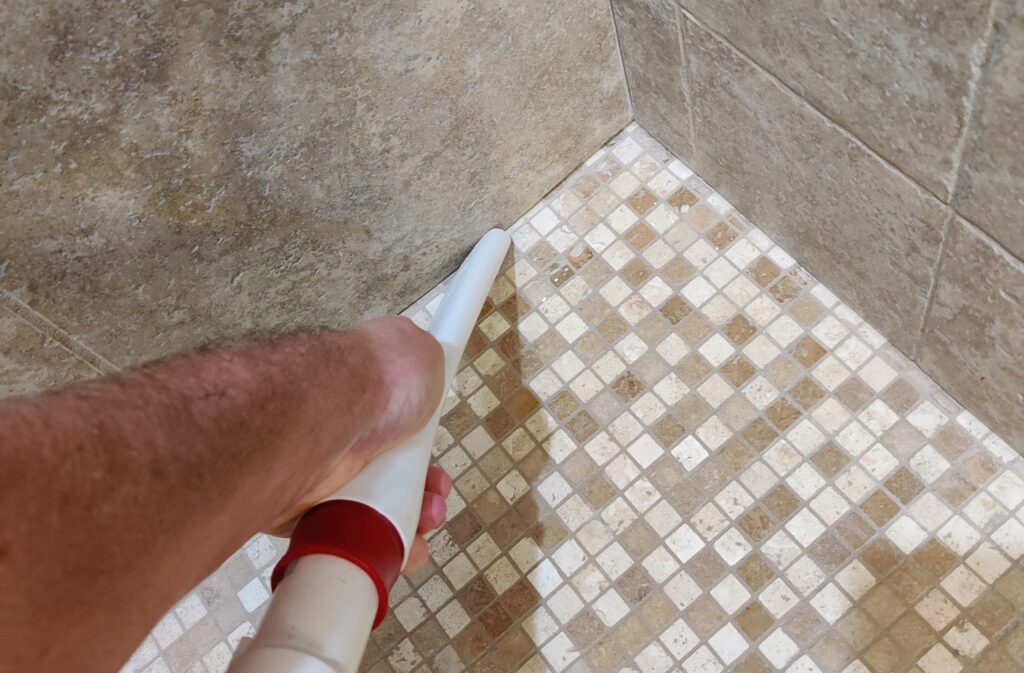
Exacto Knife
Even after all the work with the oscillating tool, there will inevitably be some sections where caulk is still hanging on. Do your best to take your time and be meticulous here with the Exacto Knife, inspecting section by section to find and remove the old caulk from those areas. Keep the Exacto Knife handy throughout the project; you’ll probably notice little places to hit as you move through the removal and surface prep steps as well.
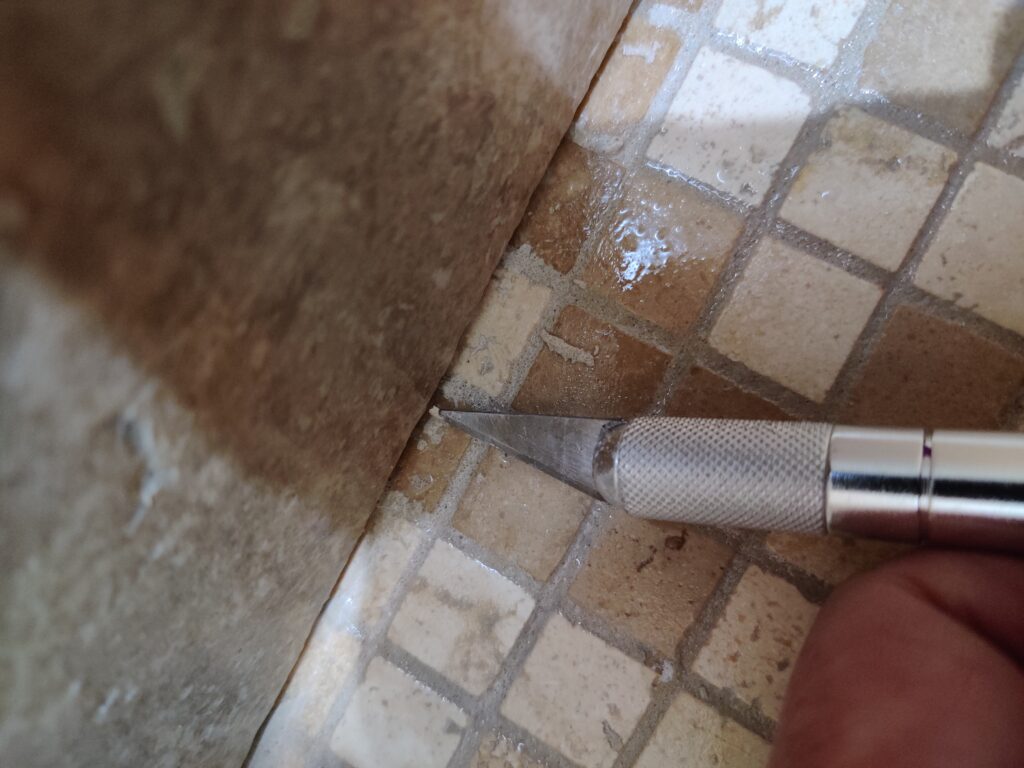
REMINDER: Make sure you are 100% satisfied with your prep in each section before moving on.
Surface Prep
Grout Cleaner
Joints
After vacuuming all the dust and debris out of the shower and the joints, perform the first chemical clean with Grout Cleaner and Nylon Brush. For this first clean, focus most work on the joints. Keep that Exacto Knife handy as you’ll inevitably uncover more areas where caulk is still hanging on. A common theme throughout this project is to be methodical and meticulous. After about halfway through a step, you’ll be tempted to phone it in; don’t. Good surface prep is the difference between having to do this again in 5 years, or having a 30+ year caulk bond.
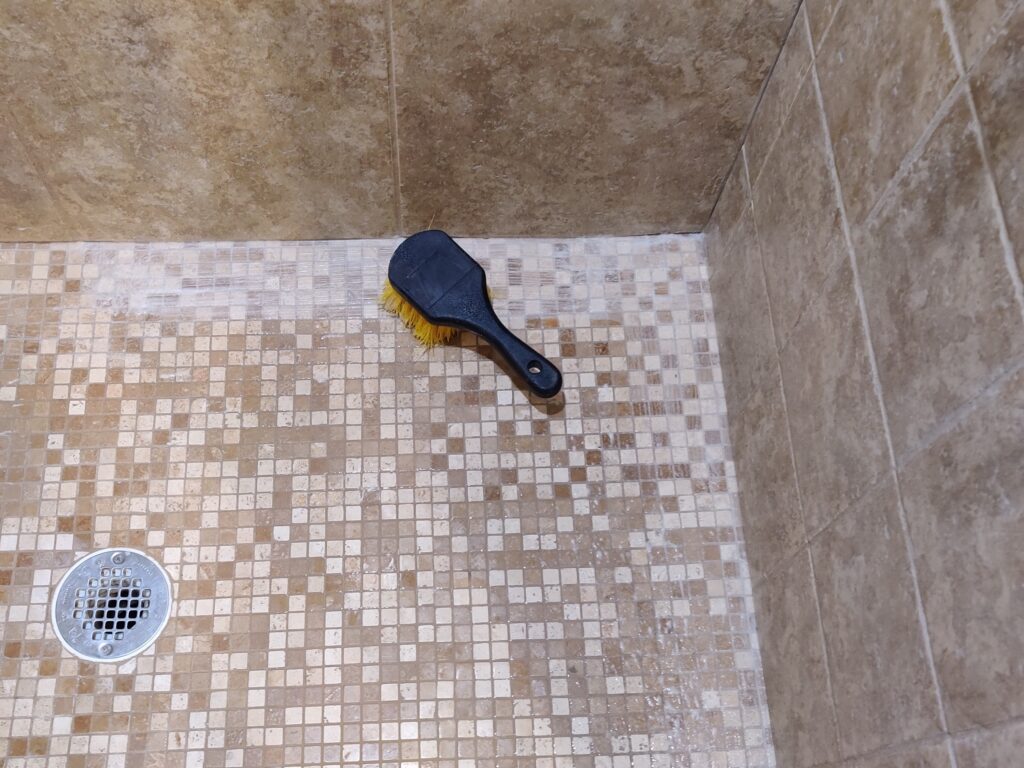
When you’re satisfied you’ve hit all the joints well, rinse the tile thoroughly with water, and let it air dry for about an hour. You’ll want a break around this time anyway 😉
Tile and Grout
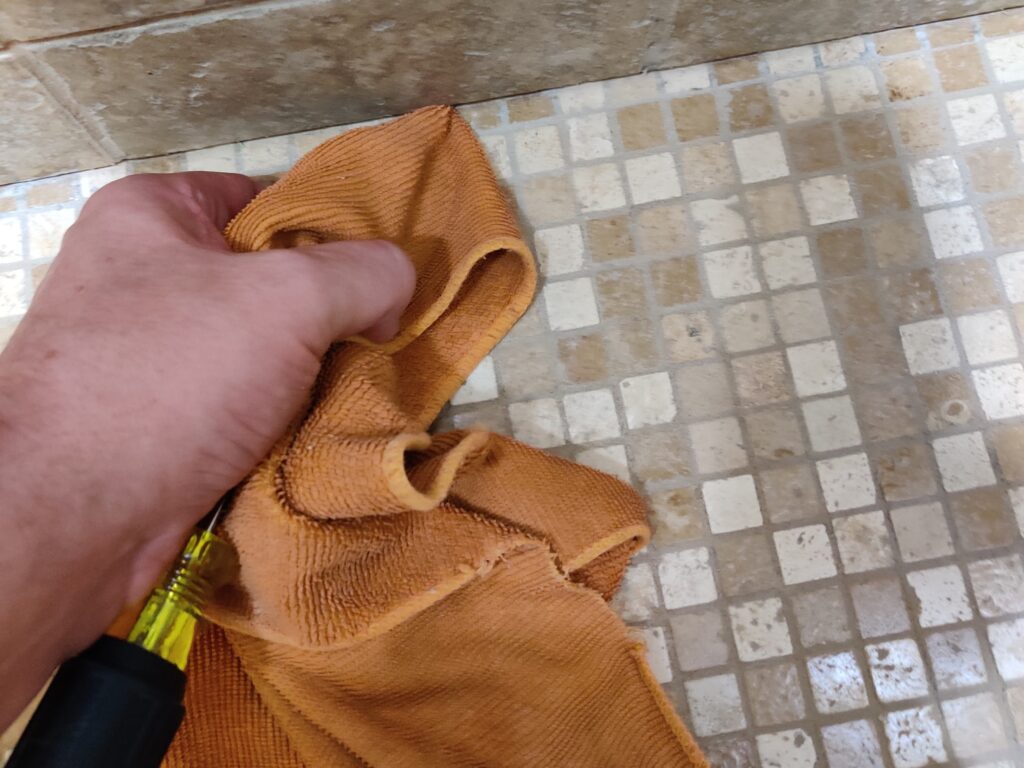
Perform the second chemical clean with Grout Cleaner and nylon brush, this time focusing on all tile and grout lines. Make sure to really pay attention to any areas of grout that have taken on mildew or other stains, as if whatever you don’t remove will be sealed in when you apply the tile and grout sealer in the next step. You may not be able to get them perfect, but with the recommended brand of cleaner in this article, you should be able to come close. When finished, thoroughly rinse all tile with water, while scrubbing with the Nylon Brush. Use a rag folder over a Flathead Screwdriver to really make sure you pull any remaining debris out of the joints, and then let dry overnight.
Sealing Tile and Grout
This is pretty straightforward. I personally have always been really happy with the results I get from the 511 Impregnating Tile and Grout Sealer, so that’s what I recommend to use. Follow the directions on the container. Use a stain brush and rag to apply, and keep a separate cleaning rag damp with water. Work in sections, applying, and letting sit for 5-10 minutes before wiping clear. Let dry 24 hours.
Applying Caulk
The moment of truth! As I said in the materials section, it’s highly advisable to practice applying and spreading the caulk so you know what you’re getting into, and have a good method and feel for working with it prior to final application in the shower. You only get one shot at this! Also, professional glaziers will probably get a good kick out of my recommendation to use tape to control the spread on the joints, but I don’t do this every day, and so I like having the training wheels 🙂
Final Prep
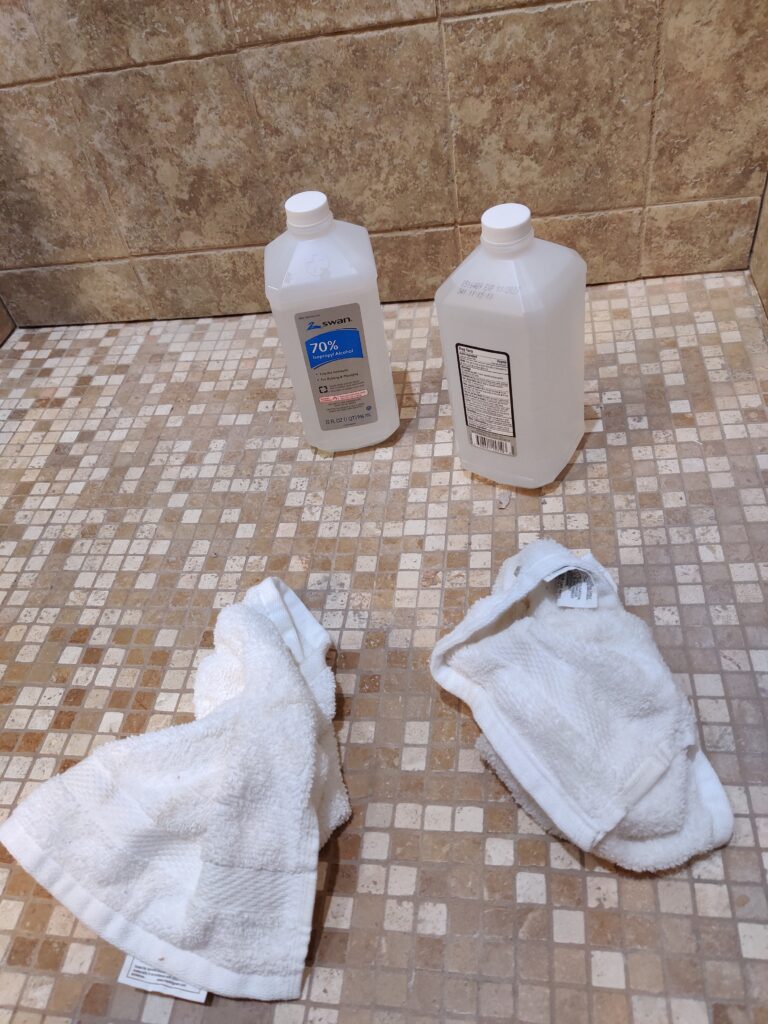
Using a 70% Isopropyl Alcohol solution, perform what’s known as a “double wipe technique.” Sounds technical, but all you are doing is wiping the joint with a rag dampened with the solution, and following that with a dry rag. Do that until the dry rag comes up clean.
Tape the Joints
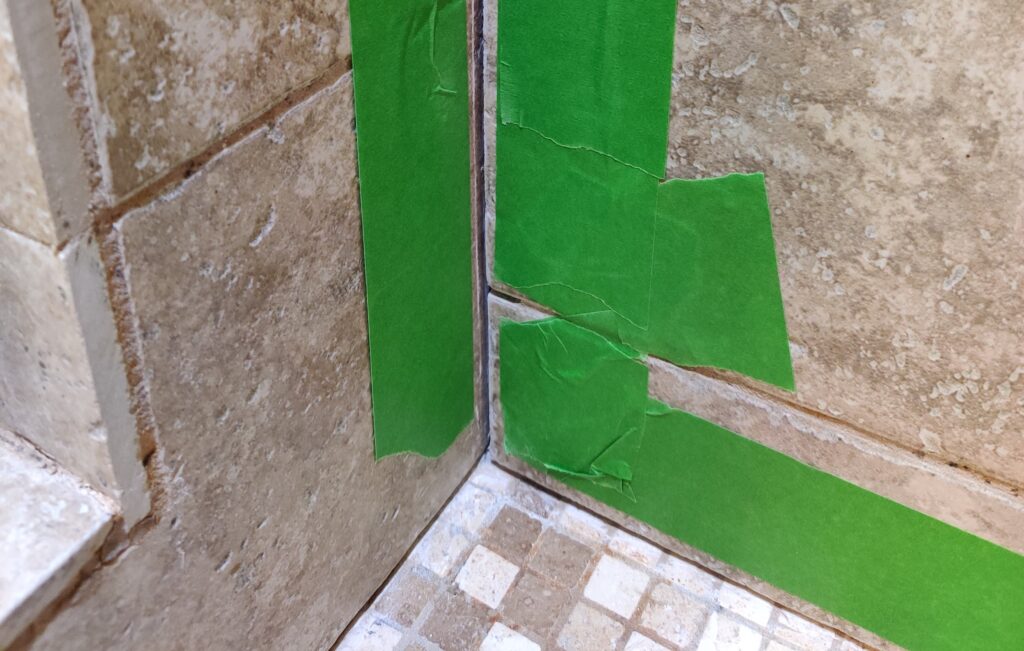
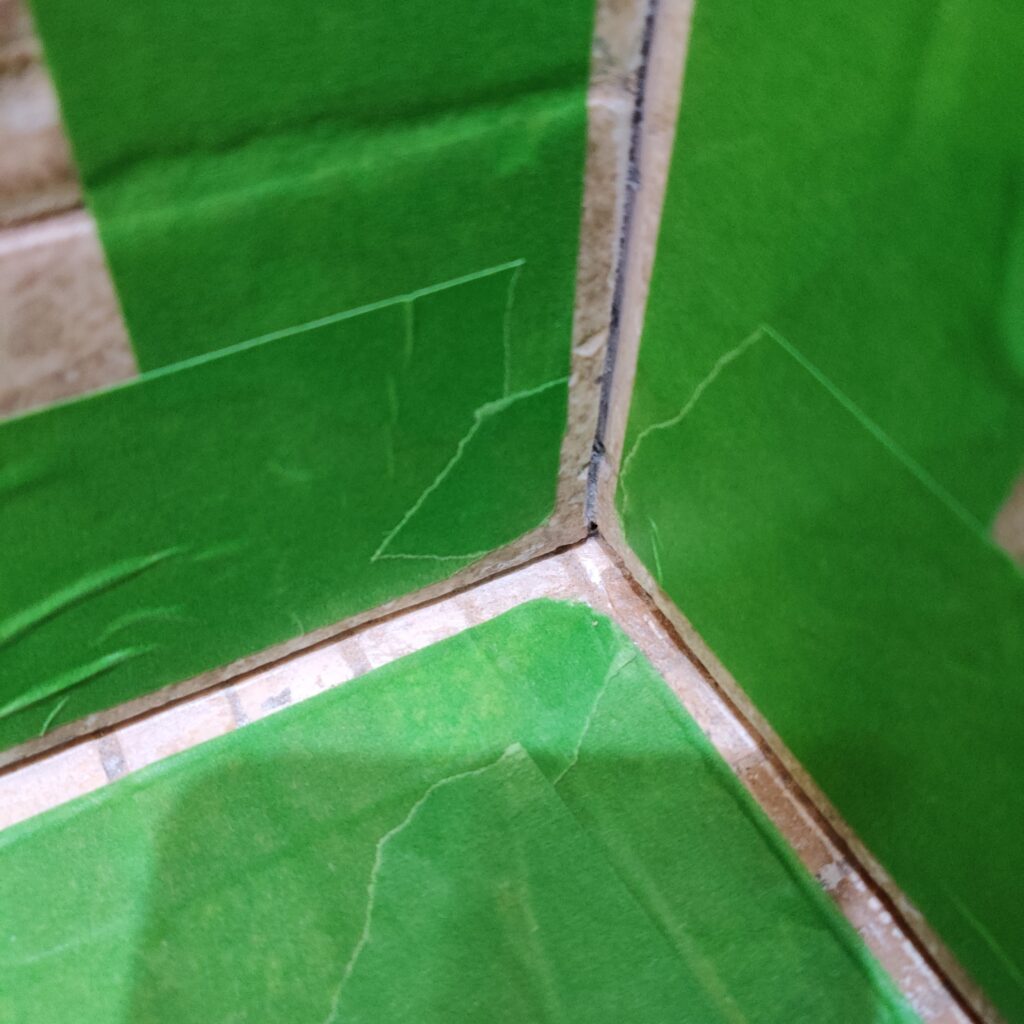
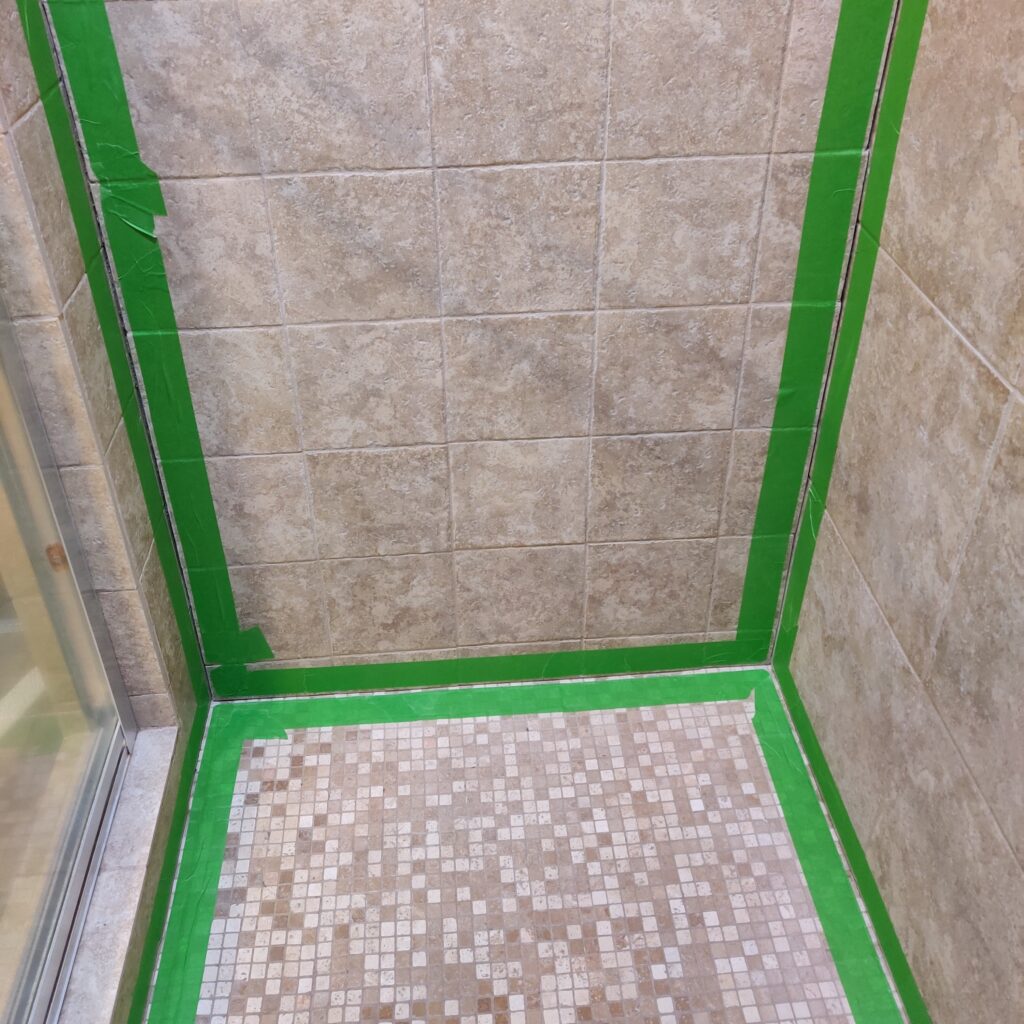
Using Frog Tape, tape the joints for “training wheels.” Make sure to use the Exacto Knife to round out the corners for a nice finished look. As is the general theme of this project, the devil is in the details.
Apply Caulk
I’ll repeat here, do not use anything but 100% Silicone Caulk. The reason you’re replacing the caulk right now is probably because whoever did the initial installation didn’t do proper surface prep, or used an sanded acrylic, poly, or other kind of “siliconized” caulk. These are inferior products, and should not be used. Also, make sure you have a good Caulk Gun for this.
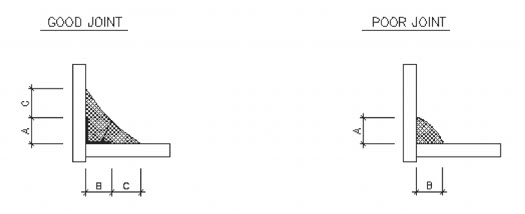
You want about an ⅛ inch bearing on either side of the joint, so cut the tip of the caulk at about a ¼ bead, at a 45 degree angle. Apply the caulk evenly in all joints (if you didn’t practice, you may have some problems here). Keep PLENTY of paper towels, rags, and Mineral Spirits handy in case you have to clean up quickly.
“Tool” the Caulk
Using your finger, smooth the caulk in the joints. Be careful not to press too hard. Remember, you want about ⅛ inch bearing on either side of the joint to allow the caulk to work like a rubber band, stretching and moving as people step in the tub or shower, the house shifts, etc. (see the cross-section image above). I like to dip my finger in the 70% Isopropyl Alcohol solution before doing tooling the joint, as the silicone caulk is super sticky, and you’ll find yourself smearing it everywhere and not getting a nice finished looking final product. A professional glazier might say getting your finger wet (called wet tooling) isn’t advised, but for the life of me, I can’t get a smooth joint without it. Once you have it looking the way you want, let the caulk dry 48 hours before using the shower or tub.
Final Product
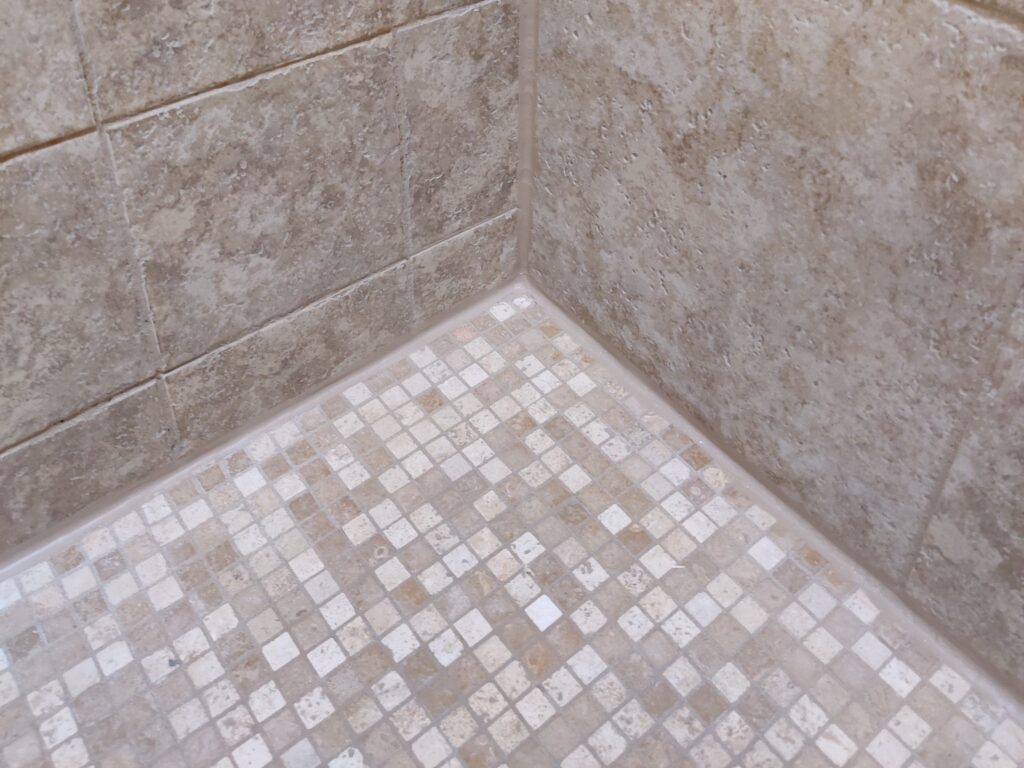
If you’ve done this all correctly, you’ll have a very ordinary-looking shower that no-one will ever notice (LOL). However, feel free to stand there with your hands on your hips and admire it for a bit 🙂
Some people may find this entire process to be overkill, but, if you want a lifetime product that you’ll most likely never have to redo, this is the way. Also, although somewhat monotonous and tedious, I think this is a project that most people can take on and do themselves to save some money if they take their time and follow the correct order of operations.


